account
Identity verification and completing your profile
Sigrah verification is a checklist of five independent items, each cleared in its own place. This guide shows where each one is completed, the file limits that apply, and what happens after your documents are submitted.
Verification on Sigrah is a five-item checklist rather than a multi-step form: Email, Phone number, Identity document, Selfie and Sigrah agreements. All five are listed on the Verification page, but only the identity document and the selfie are submitted there. Email and phone are confirmed under Security, and the agreements are accepted on the Agreements page. The order does not matter.
Read the What is required list
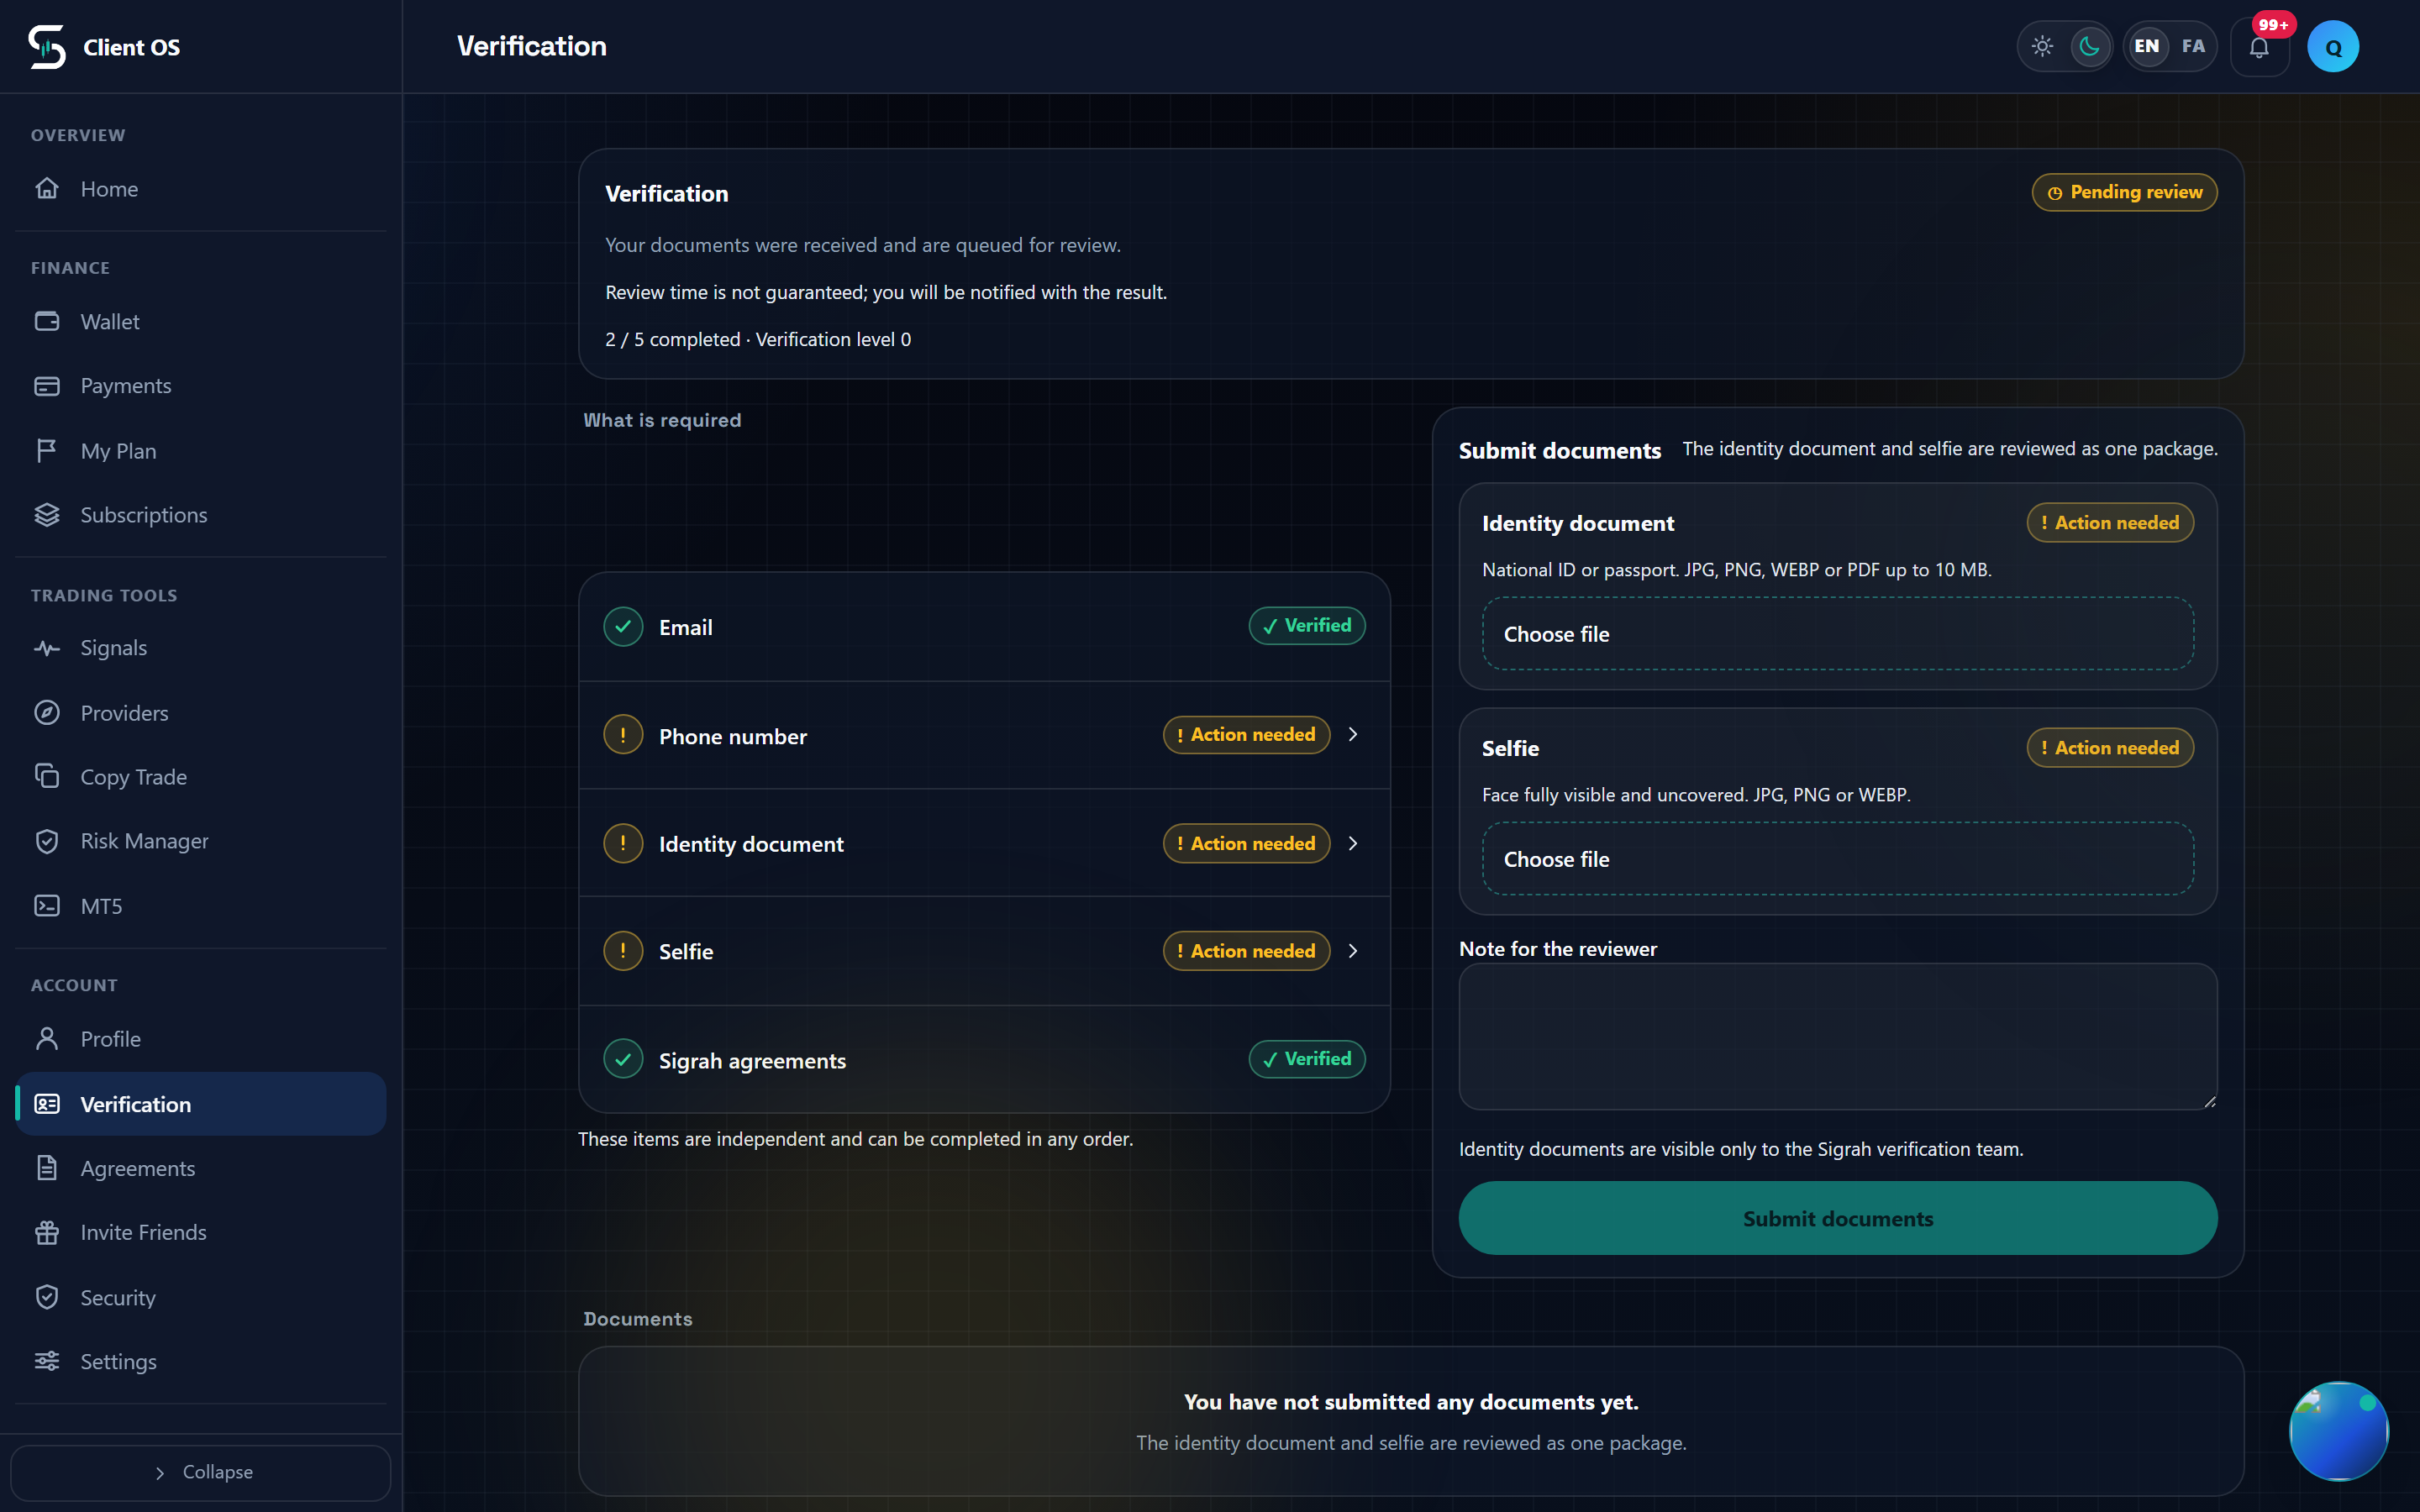
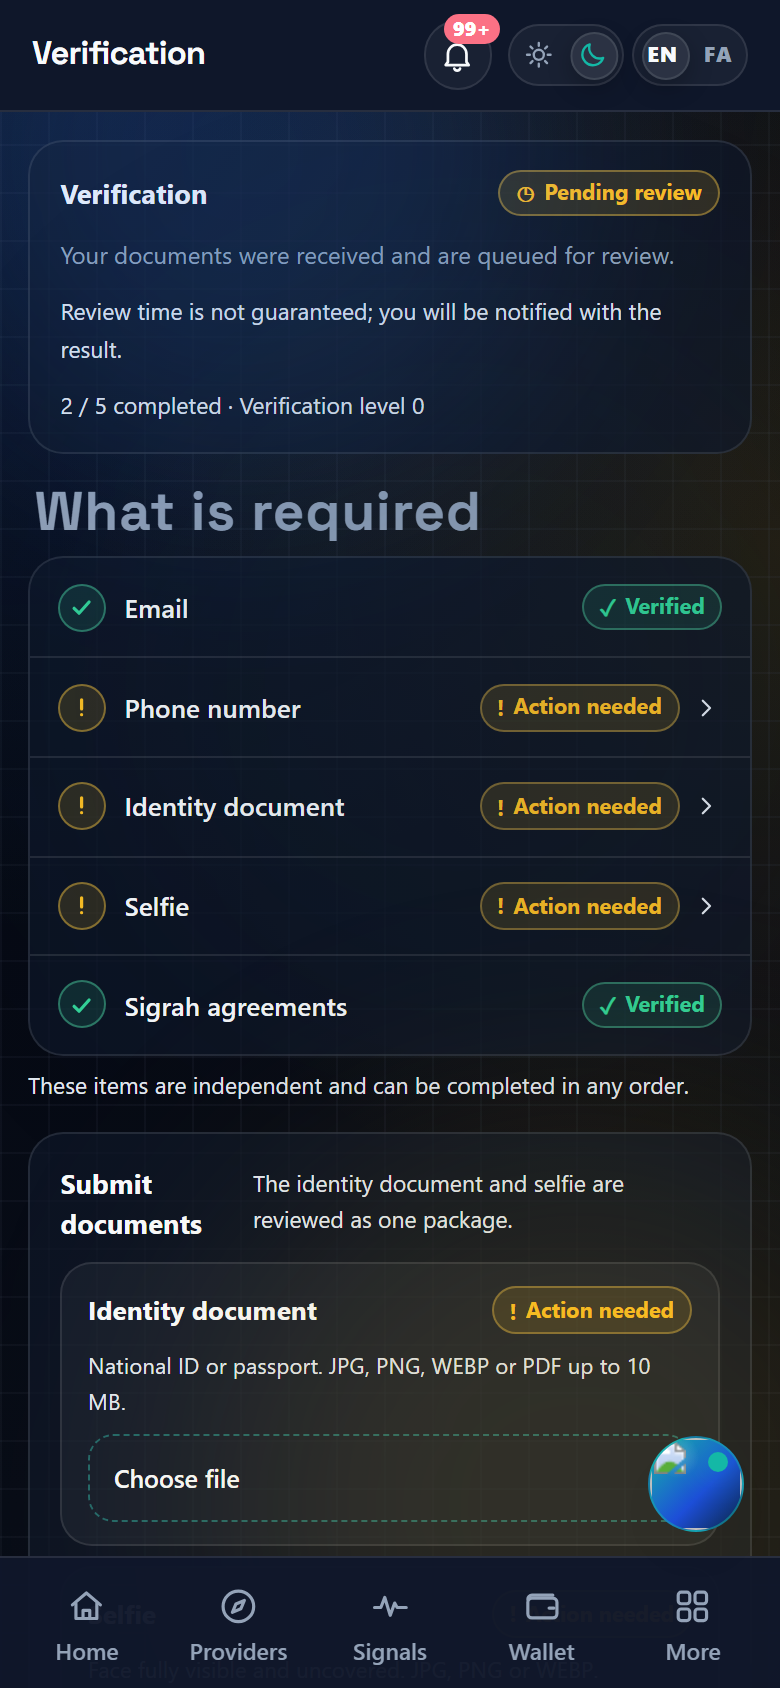
The Verification page opens with your Status, one sentence explaining it, your Verification level and a counter of completed items. Under What is required there are five rows, each marked either Verified or Action needed, and the page itself says these items are independent and can be completed in any order. Every row links straight to the page where that item is actually cleared.
Verify your email and phone number
The Email and Phone number rows send you to Security. In the Email and phone section, under Change email, type the address into New email and press Send verification code, then enter the Six-digit email code and press Verify new email. The phone follows the same path with New phone number, Six-digit SMS code and Verify new number. Until the code is entered and confirmed, that row stays open on the checklist.
Accept the three agreements
The Sigrah agreements row opens the Agreements page: Terms of Service, Privacy Policy and Client Agreement. Opening a document gives you Read the full document (PDF) and, at the bottom of the same sheet, the tick box reading I have read the document and accept it. The I accept button stays disabled until you tick it; opening and reading the document does not accept it on its own. Your acceptance is recorded against that exact version, and you see Acceptance recorded.
Submit the identity document and the selfie
The Submit documents card on the Verification page has two slots that are reviewed as one package. Identity document takes a national ID or passport as JPG, PNG, WEBP or PDF up to 10 MB; Selfie takes JPG, PNG or WEBP only, with your face fully visible and uncovered. Add both with Choose file, write anything useful into the optional Note for the reviewer (up to 1000 characters), then press Submit documents. An oversized or wrong-type file is rejected on the spot, before anything is sent.
Where to check the result
Under Documents, every file you sent is listed with its type, the Submitted date, a status chip and a View document button. The page states plainly that review time is not guaranteed and that you will be notified with the result, and no date is shown anywhere. If the reviewer approves and all five items are complete, the status turns Verified, the page reads Your account identity is fully verified, and your verification level moves from 0 to 1. If a required document is rejected the status becomes Needs correction, the Reason for rejection appears both at the top of the page and under that document, and the slot reopens so you can send a corrected file.
Completing your profile is a separate task
Profile completion is not reviewed by anyone and is not one of the five requirements, but the Profile page is where the Verification row and the Incomplete information card sit side by side. That card, under These are not filled in yet, counts only a short list:
- Display name
- Country
- Profile photo
- Headline and strategy bio (providers only)
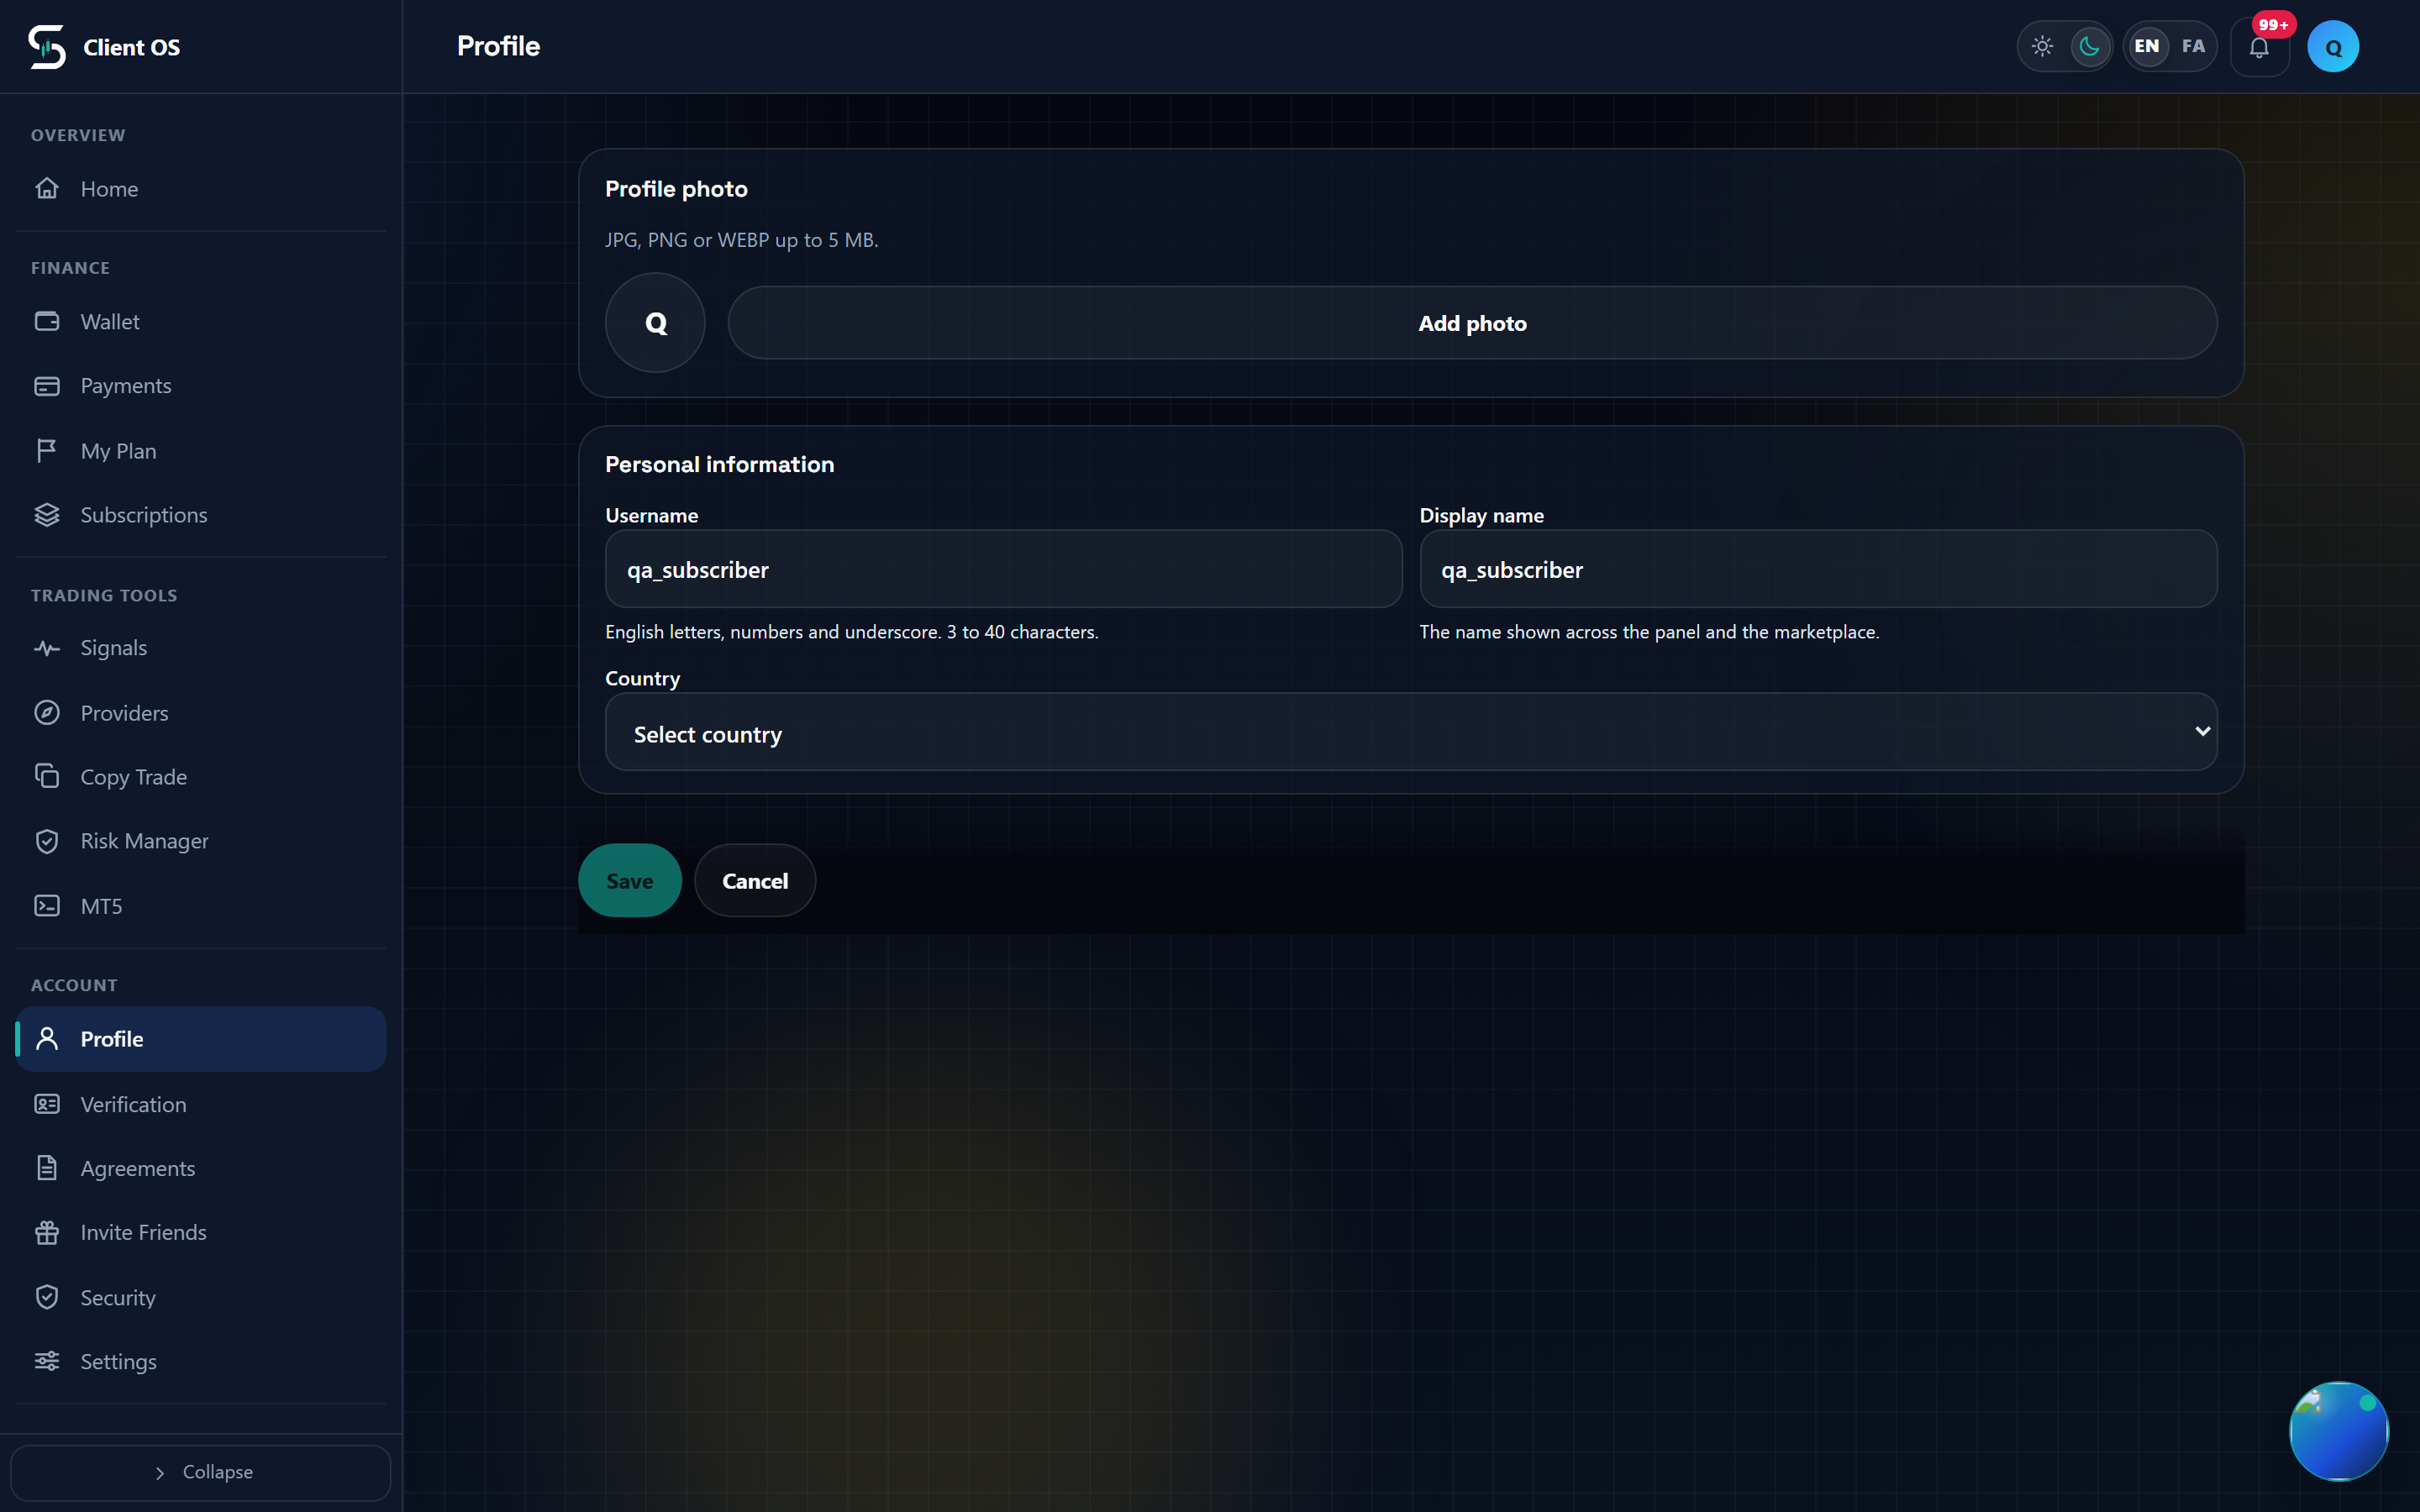
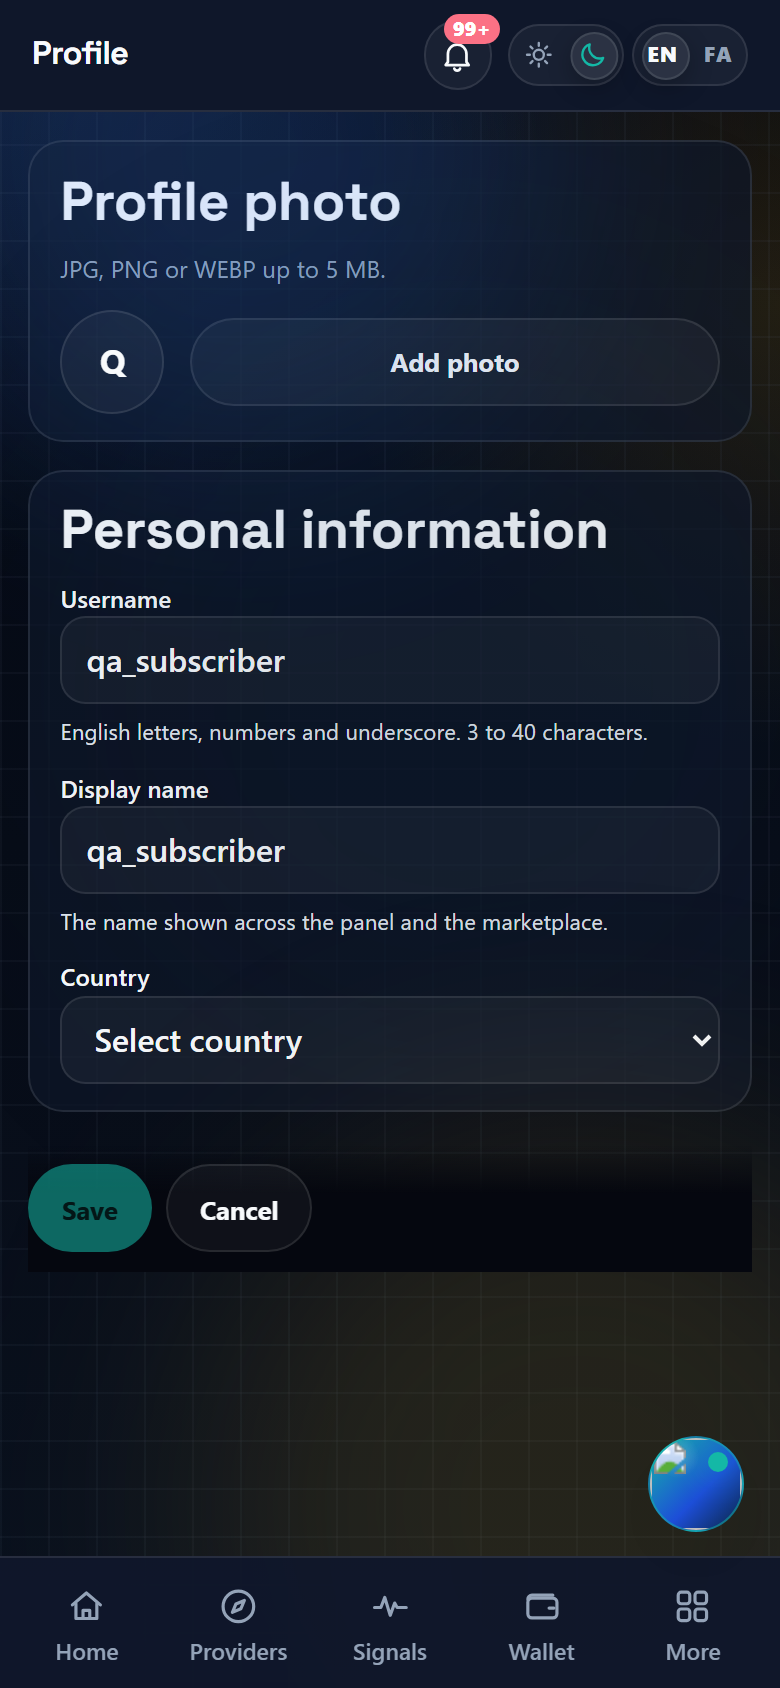
Edit profile opens the form: set your Profile photo with Add photo (JPG, PNG or WEBP up to 5 MB), then fill in Username (3 to 40 characters, English letters, numbers and underscore only), Display name (2 to 100 characters) and Country under Personal information. Providers also get a Provider profile card. Save stays disabled until something actually changes. Note that Username is never listed on the card above, so if it is the only empty field the Incomplete information card does not appear at all. Email and phone are not on this form either; they change only under Security, with a verification code.