
providers
Publishing a signal
Publishing is a provider job and happens entirely on the Signals page. This guide walks through the publish console, the fields that actually gate submission, staged exits, the draft risk check, and what to do once the signal is live.
Publishing a signal on Sigrah is a provider job, and all of it happens on the Signals page. There is no separate create route: the publish console is a panel that expands in place, only a provider account sees it, and the moment you press publish the signal is live.
Open the publish console
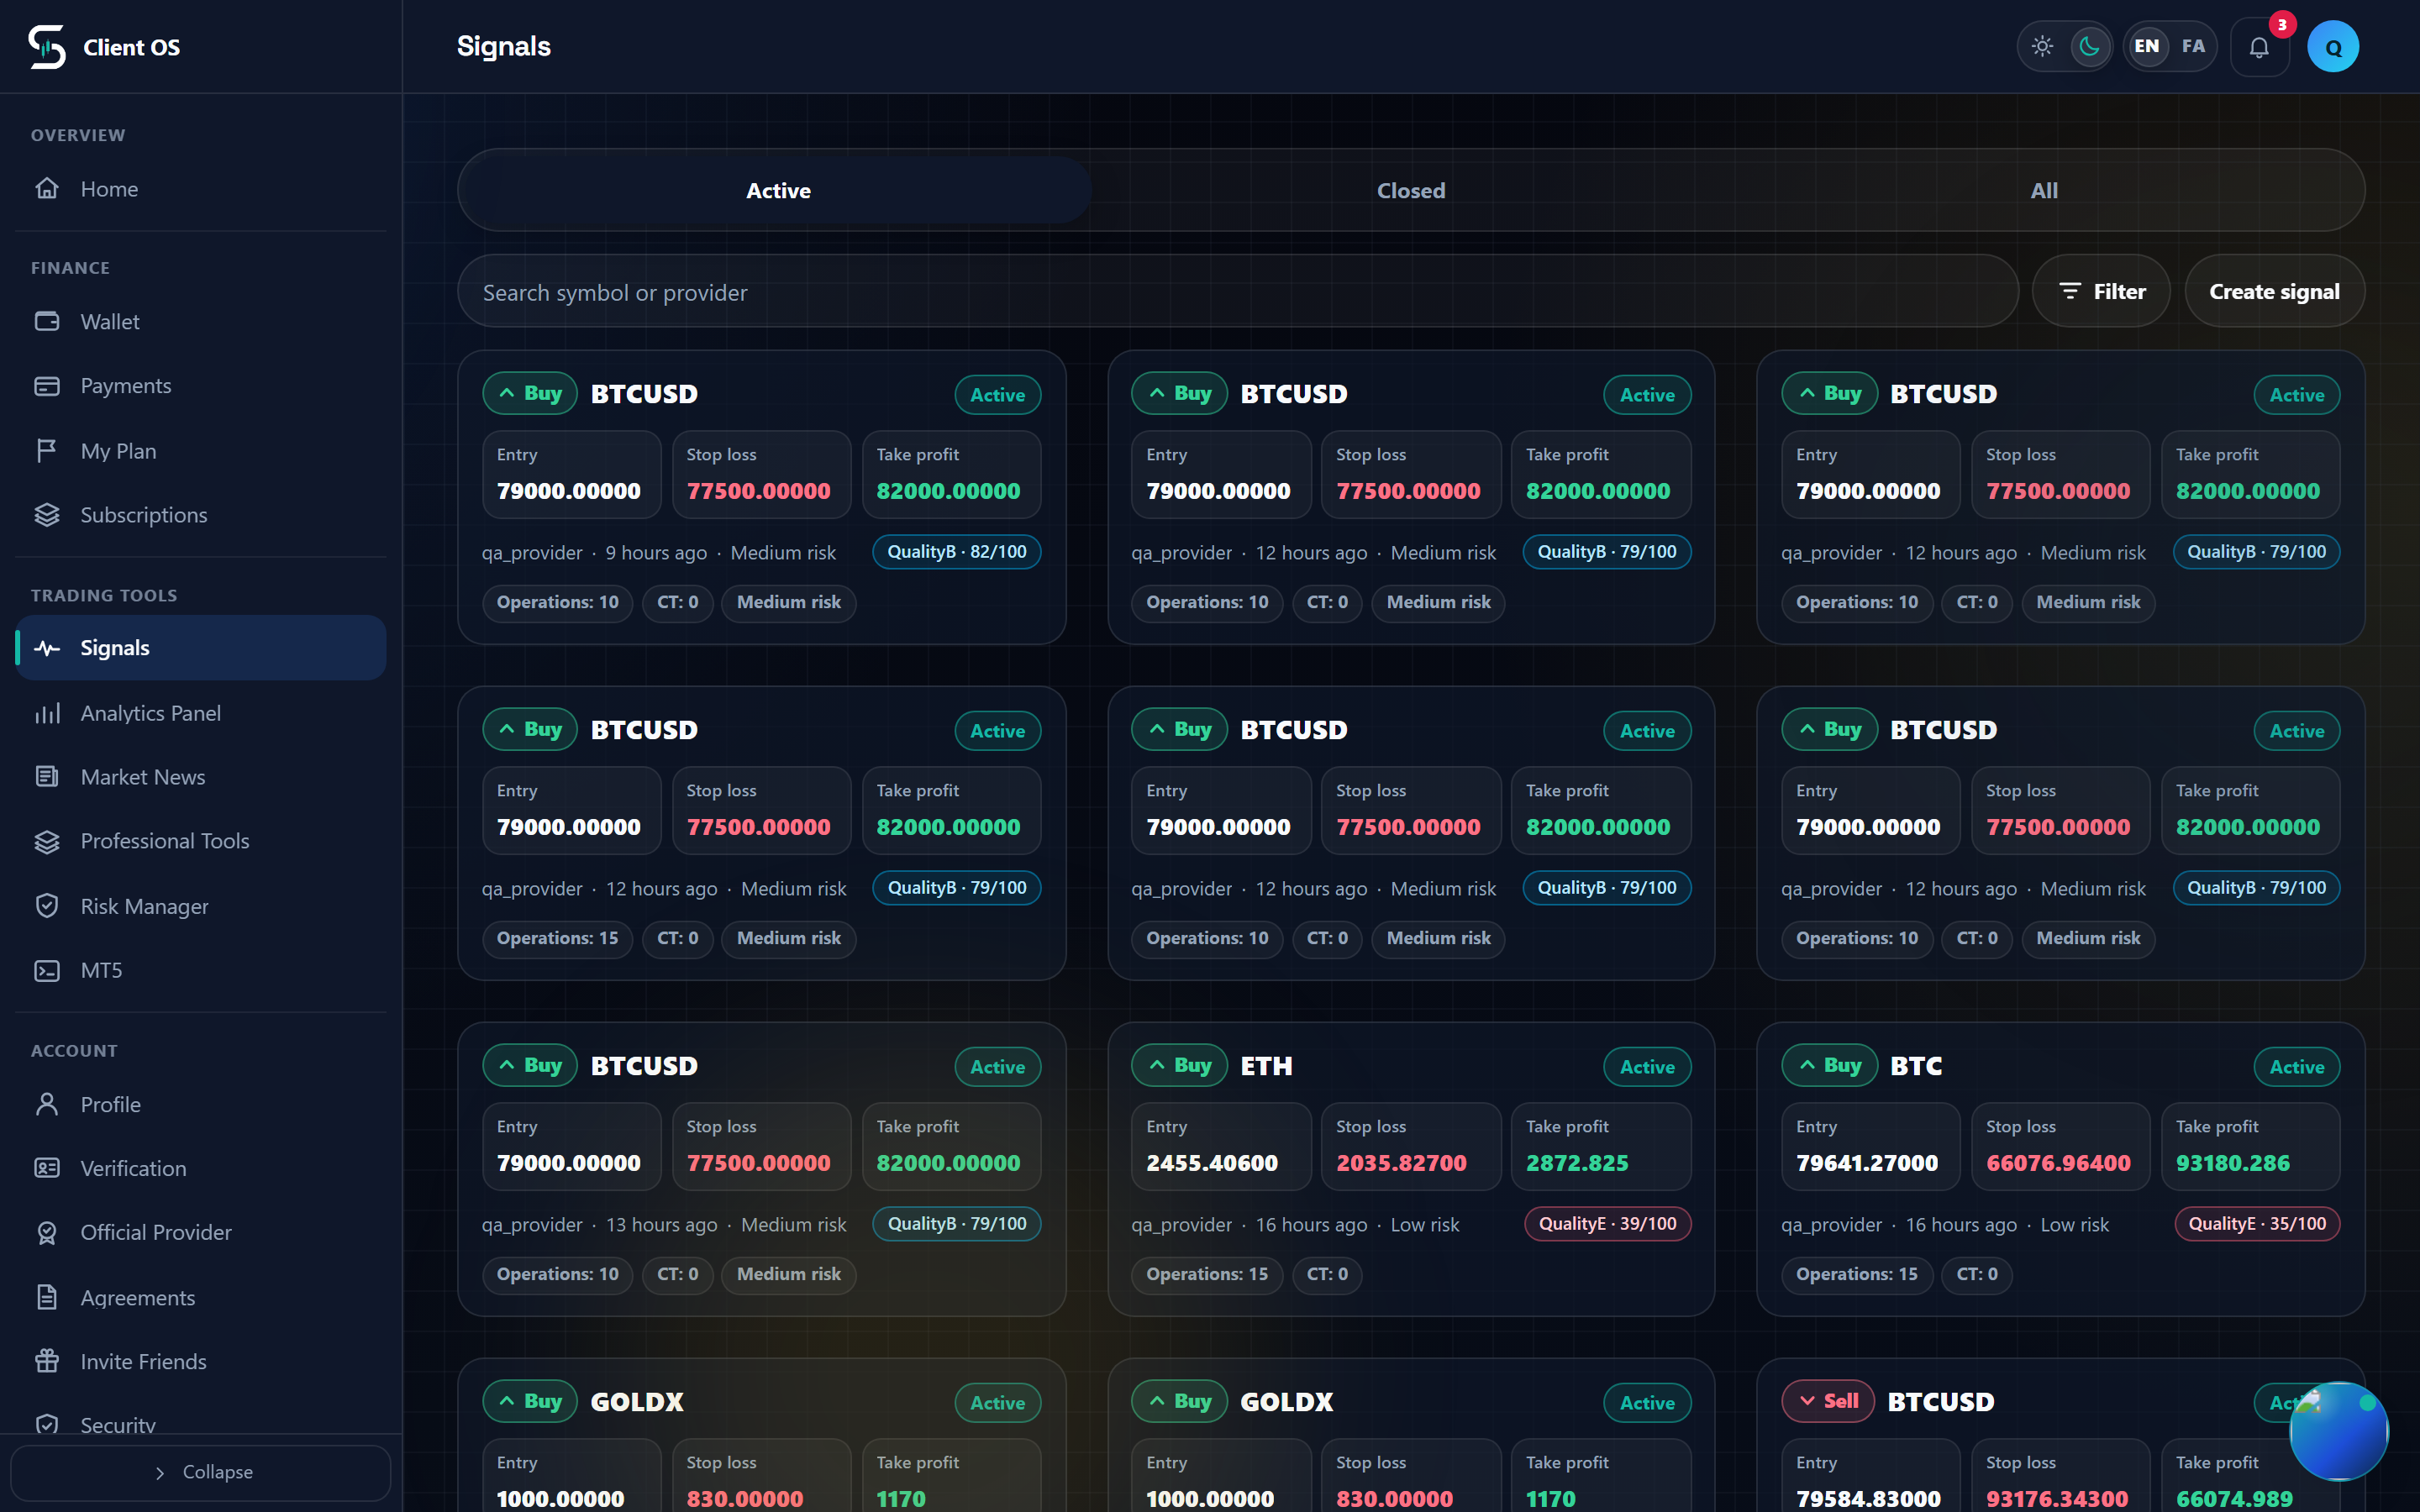
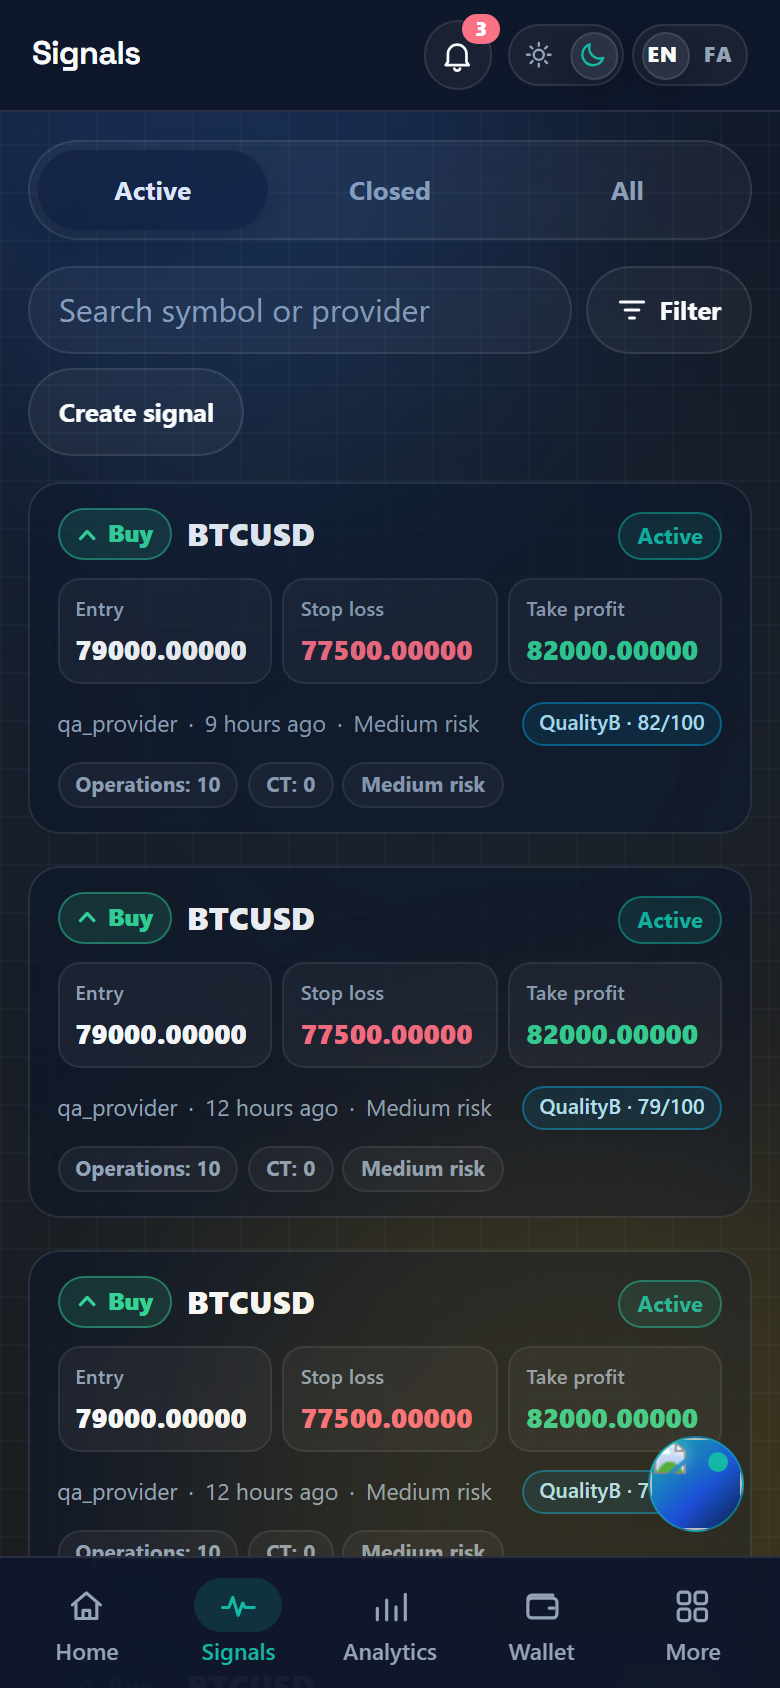
Reach Signals from the bottom tab bar, or from the Trading tools group under More. If you are a provider, the toolbar next to the search box carries a Create signal button. Pressing it expands the console under the heading Create signal and writes ?create=1 into the address, so /signals?create=1 opens straight into it next time. Collapse closes it again.
Fill in Instrument and direction
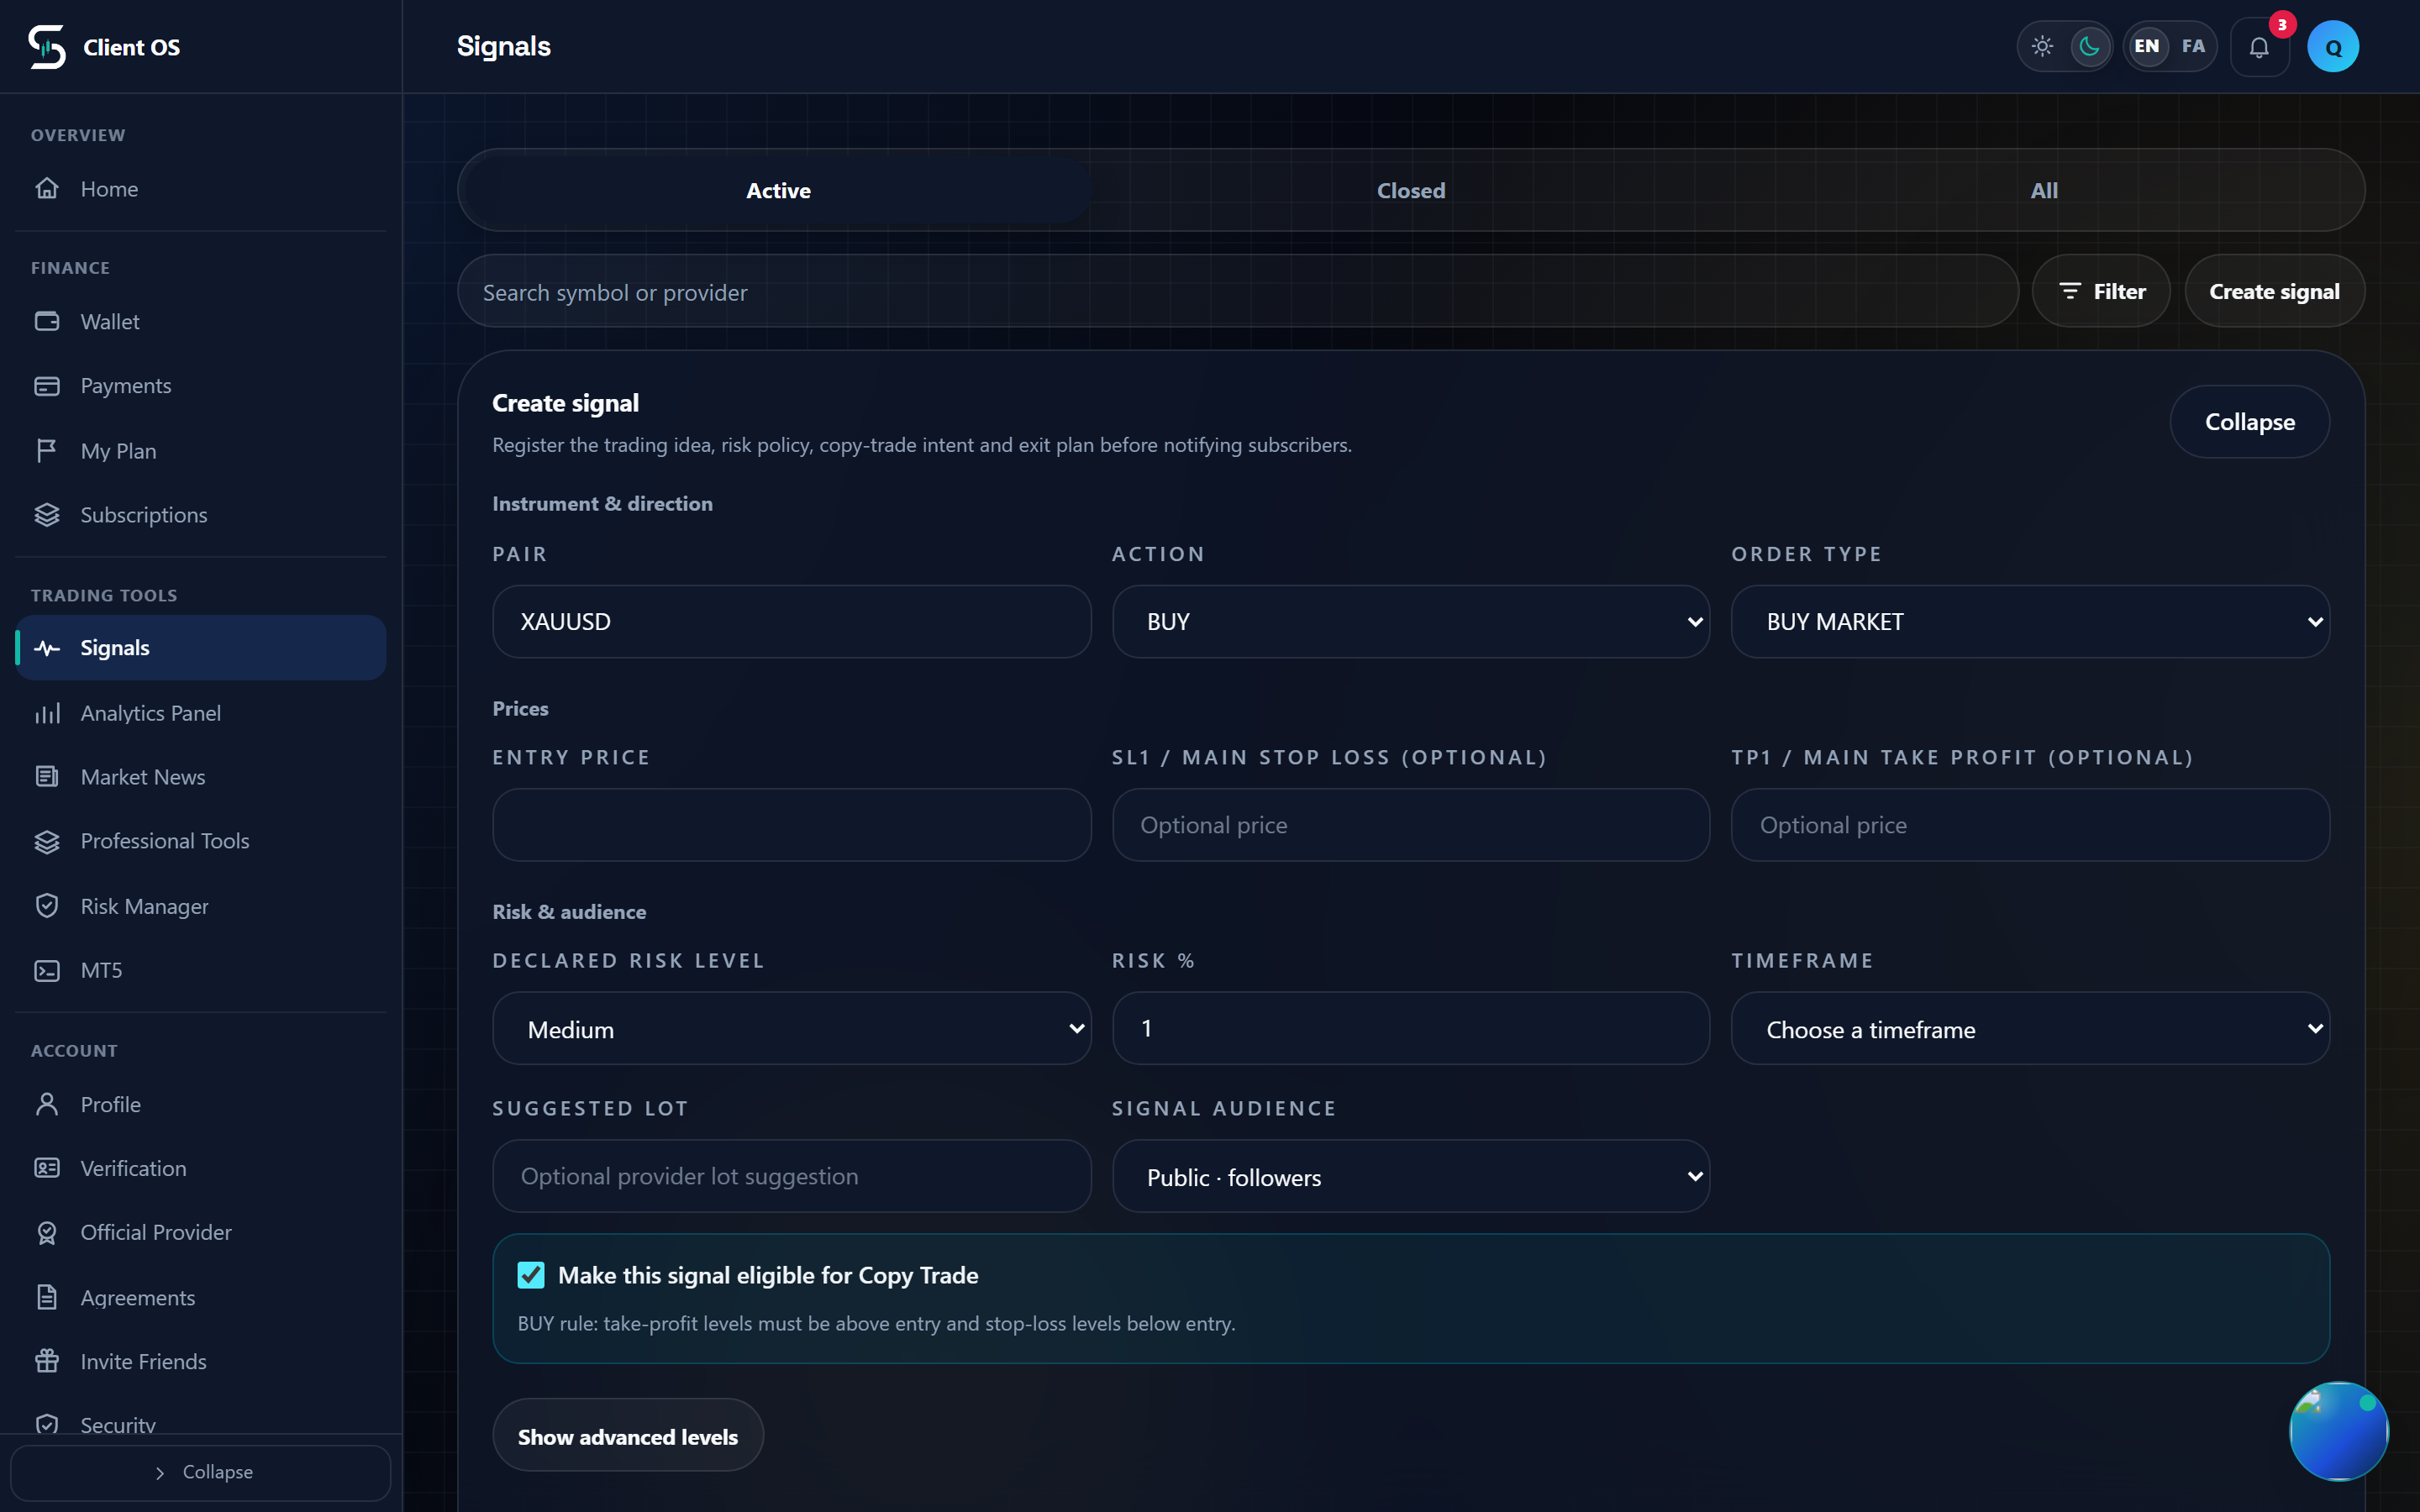
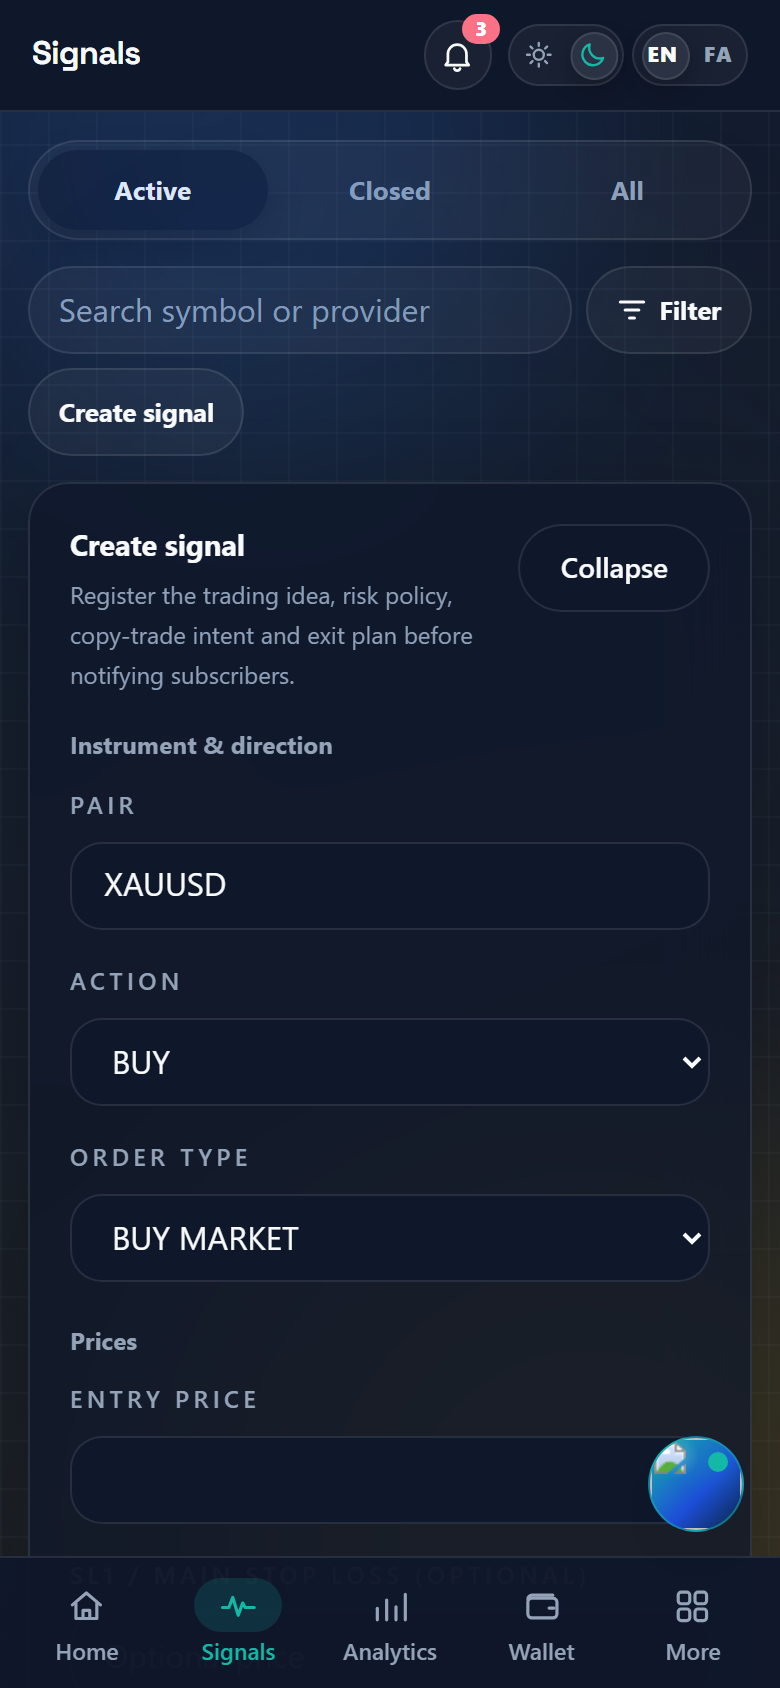
The first section has three fields. Pair is pre-filled with XAUUSD and is forced to uppercase as you type; the server accepts 3 to 30 characters. Action starts on BUY, with SELL as the alternative. Order type starts on MARKET and also offers LIMIT, STOP and STOP LIMIT, each shown with the side you picked, for example BUY LIMIT. That one choice decides which fields the Prices section renders.
Enter the prices
For a MARKET order the field is Entry price; for any pending type it becomes Entry / trigger price. Either way it is required. SL1 / main stop loss (optional) and TP1 / main take profit (optional), both carrying the Optional price placeholder, genuinely are optional, but leaving them empty lowers the quality score and raises the missing-data flags. STOP LIMIT adds a required Stop-limit execution price, which for a BUY may not sit above the trigger and for a SELL may not sit below it. Every non-MARKET type adds Pending expiration; if you fill it, the time must be in the future or the publish is rejected. All prices must be positive with at most five decimals.
Set risk, timeframe and audience
Under Risk and audience, Declared risk level defaults to Medium, with Low and High as the alternatives, and Risk % is pre-filled with 1 and must stay between 0.01 and 100. The only control that starts empty is Timeframe: it sits on Choose a timeframe and the form will not submit until you pick M1, M5, M15, M30, H1, H4, D1 or W1. Suggested lot is optional and capped at 100. Signal audience sits on Public · followers, and Private · VIP members only appears in the list when your VIP channel is both ACTIVE and enabled; otherwise the console just states the VIP line status above the form. Below the grid, the checkbox Make this signal eligible for Copy Trade is ticked by default and restates the direction rule for the side you chose.
Stage Level 2 and Level 3 exits, and write the note
This part of the form carries no visible heading, only a Show advanced levels button. It reveals two editors, labeled Advanced stop-loss levels only and Advanced take-profit levels only, each with a Level 2 and a Level 3 row taking a Price and a Close %, plus a running Advanced close % total. Those rows are for Levels 2 and 3 alone: whatever you typed as SL1 or TP1 becomes Level 1 automatically and takes the remaining percentage. Each side accepts at most three levels, and every close percentage must be above 0 and at most 100. The last field is Note, up to 2000 characters, and its length feeds the market-context part of the quality score.
Run the draft risk check
Analyze draft risk stays disabled until Entry price has a value. It sends the unsaved draft, staged exit levels included, to the risk engine and answers with Draft analysis completed. Review warnings before publishing. The Draft analysis result card then shows a score out of 100, the risk level, the execution status, up to five warnings, and the five master-lens verdicts alongside the technical studies. Nothing is published by this button.
Publish
Press Publish signal. The form checks two things before it sends anything: close percentages over 100% produce Close percentages for stop-loss or take-profit levels cannot exceed 100%., and a level on the wrong side of entry produces Copy Trade execution plan is not valid for the selected direction. The server then asserts your publishing quota first, and only after that re-validates the prices, the order contract and the direction-aware exit levels. On success the banner reads Signal published and notifications were queued for eligible subscribers., the console collapses, the feed returns to the Active tab, and the form resets, keeping the pair and risk % values.
After publishing
The signal is created with status ACTIVE and lands at the top of the Active tab. Open its card to reach the signal page, which holds the signal specification, Signal timeline, and, because you own it, Manage signal, where Submit command sends MODIFY_STOP_LOSS, MODIFY_TAKE_PROFIT, MODIFY_PENDING_PRICE, CANCEL_PENDING, PARTIAL_CLOSE or FULL_CLOSE. Irreversible commands first ask Are you sure? This cannot be undone., and you confirm with Yes, submit. The same page links out to Run risk check and Open Copy Trade. The copy-trade checkbox only marks the signal eligible; real execution happens when a subscriber has an active copy bot.